Thursday, April 8, 2010

Color in the Desert in Our Front Yard

When most people think of the desert, they think, drab, dull, brown, hot and dry.  Here in the Sonoran Desert in the Spring, the landscape is awash with color, especially if there has been plenty of rain, as is the case this year.  Following are some pictures from my yard in Casa Grande, AZ.  Casa Grande is located about halfway between Phoenix and Tuscon.  The following pictoral is for your enjoyment.

Friday, April 2, 2010

The Wedding Dress

My niece Chrystal is getting married in June.  She asked my Mom and I to make her wedding dress for her upcoming June Wedding.  She said  it would make the occasion extra special for her knowing that we made the dress.  Since she lives in Mobile and we live near Phoenix so, we asked her to come out for the sewing process so she could be here for fittings and to give us a hand.  She is a budding seamstress and Mom and I thought it would be a good experience for her to learn more about sewing. 

Mom and I had been shopping to pick the material several times and could not find exactly what we wanted.  The pattern had already been picked by Chrystal last year so we had the pattern and knew what we needed.  We found the material at a famous fabric store on special order for over $20 a yard and the basic material for the overlay took 14 yards.  The chiffon was going to run around $280 at that price, then there was still the lining and the satin and the lace.  We decided to hold off and kept shopping.  We finally found the perfect fabric at a wholesale outlet and the cost of all the materials plus the pattern ended up being well under $100!  It's amazing how much you can save when you have plenty of time to look for what you want and know exactly what you have in mind.  We are bargain hunters from way back! 

Chrystal flew out on her Spring break and we began the dress.  We taught her how to lay out and cut out.  She did a wonderful job.  Mom and I began pinning and sewing.  Chrystal become an expert with the seam ripper and we dubbed her the "picker outer"!  Since this was a Burda pattern, it was more difficult than most American patterns and the Burda was rated as an intermediate to difficut.  But with Mom and my combined sewing experience in years totaling around 120 (Oh my gosh!) we knew between the two of us we could pull it off.

Chrystal wanted a back lace up with a gusset, which the pattern did not have, and a modification on the sleeve.cap.  Mom decided to add another layer on the skirt as well, plus we wanted a lining as well as the underlayment to the chiffon layers.  So we had our work cut out for us.  Below you will see the pictures from the cutting out to the final fitting and the almost finished dress.  We still have the hand work to finish, but we are almost there!  We estimated that all totaled we have about 50 hours invested in the dress.  Later, in June I will post the wedding pictures so you can see the Bride in her full regal attire!

The Bride to be, Chrystal


Laying out and Cutting  
 Grandma and Chrystal


Me (Aunt Sandy) Serging and Grandma (My Mom) Supervising                                     


The Final fitting before Chrystal had to leave


The almost finished dress

We think it turned out GREAT and it fits the Bride like it was made for her!  It is going to be a beautiful wedding.  More pictures to come later!

Wednesday, March 31, 2010

How to care for your Embroidered Items


This is an exerpt from an Article written by Kenny at Embroidery Library.  Click on the picture above to go directly to the site for more information. 

Hand-washing and air-drying are your gentlest options.

When machine washing embroidered clothing, turn the garments inside out to protect the embroidery from abrasion. When possible, avoid washing embroidered items with items that have metal hardware such as zippers.

To avoid shrinkage, wash the fabric as gently as possible, and air-dry if you can. Make sure to follow the fabric's care instructions.

If you're concerned about the thread color bleeding onto the fabric (or vice versa), wash gently in cold water. If you notice any bleeding when washing the fabric, rinse the item in cool water until the color is removed. Some say rayon thread is less colorfast than polyester thread, and deep red colors are most likely to bleed.

If pressing the embroidered item, either use a pressing cloth over the embroidery, or iron on the back. Don't let the iron touch the embroidery directly. Use dry heat and avoid the steam feature on your iron -- steam can cause the stabilizer to shrink up, creating a puckered look.

Keep in mind that all textiles show wear as they're washed and used. Your job is to help your embroidered creations age gracefully so that they'll bring joy and color into your life for years to come.

Tuesday, March 30, 2010

Sold Items Thank you all Buyers!


Check out the items that have SOLD!
Lamb Shirt
Shamrock Wreath
Easter Wreath
Shamrock Towel
Perfect Pockets
French Quarter Flower District Fabric
Sock Monkey Shirt
Rose Tote
Be Still and Know That I am God Tote
Howdy Pardner baby Bib
Bathing Suit Ensemble

Thank you Buyers for 100% Positive Reviews

Lots of new Items in the Shop


See all of these new items at http://sewsassycreations.etsy.com/

Thursday, March 25, 2010

New Headbands and Hair accessories

Hi everyone!  It has been about a week since I blogged last, because I was very busy making a wedding dress for my Niece.  She flew out from Mobile, AL for fittings while my Mom and I were making the dress.  I will have some pictures to post soon.  We are all finished except for attaching the skirt to the bodice, lining the bodice and hemming.  It was a tough work week believe me.  I now understand why wedding gowns cost so much! 

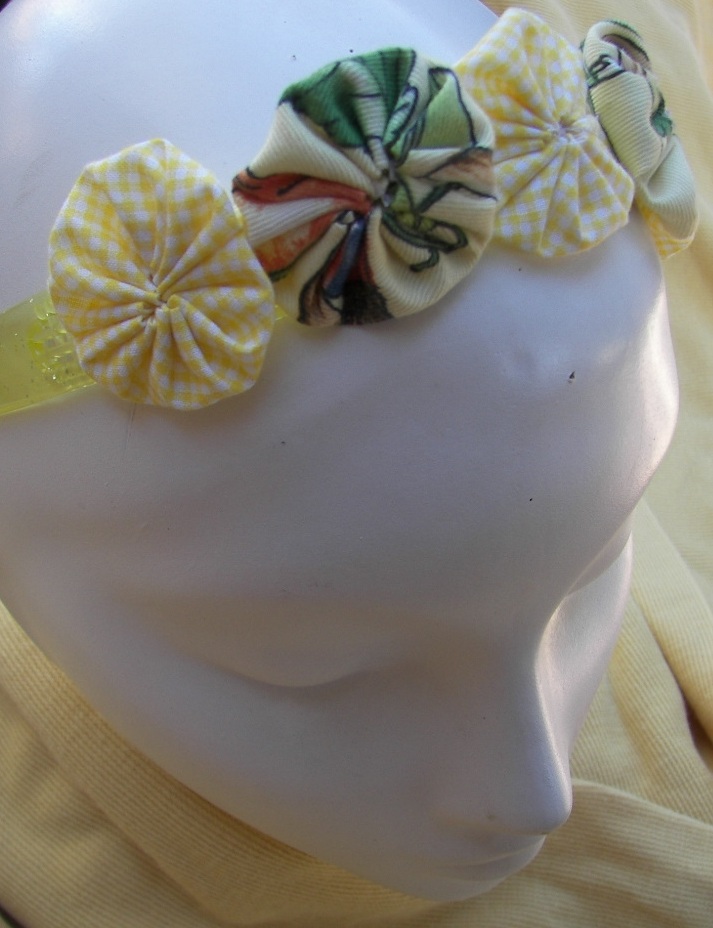
I had some requests to do some headbands for a friend of mine and I got excited about making them.  Lots of sellers on Etsy specialize in hair accessories and they seem to sell well.  I introduced them to my shop to offer more selection to the  lower end end pricing structure.  Here are some pics of the ones I have made so far.  I can also do custom orders with names embroidered on the cloth models.  Here they are:


These are reasonably priced and are posted in the shop http://sewsassycreations.etsy.com/

Monday, March 15, 2010

Organza Flower Tutorial From Janome Sew4Home Site


Fabric Art & Accents


Wednesday, 10 March 2010 03:00


Flowers are the RAGE these days. Wear them in your hair, on your wrist, a jacket or a coat, on a velveteen ribbon around your waist... or sew several to a pillow, fill a bowl, upscale a gift. If you're planning a wedding, these airy flowers add an etherial, romantic touch wherever you use them. They can be rather expensive to buy, but are downright cheap to make. And with just a little practice you can turn out a dozen of these beauties in one afternoon.


I've always enjoyed melting things, and these flowers give me a legitimate reason to light a candle and melt some fabric. Because, that's really all you do to make these flowers. Synthetic fabrics will melt when held near a flame. They will also ignite if you put them too close, so before you get started, look for a draft-free spot away from anything flammable where you can focus on what you're doing (without helpful kiddos or pets).


Fabric and Other Supplies
•Synthetic fabrics like nylon organza and polyester satin and lining fabric. They are inexpensive and melt easily. You can use only organza in a single color, or you can mix colors and add in some poly lining fabric as I did in the photo at the top of this page. I like the way the different fabrics and colors add depth to the flower. In the flower above I used a turquoise bubble organza, champagne sparkle organza, plus medium and dark turquoise poly lining fabric.

•A heat source. I use a votive candle because it will burn a long time and it's short, so I can sit while I work. Some people use a lighter, but I find that more difficult to control. Some people use a jar candle, but I often use the slightly cooler side of the flame to melt more heat-sensitive fabrics (like organza).

•A pattern ( optional, cutting free-form flowers is faster and can look great). I've included two templates. If you are cutting a bunch of pieces, cut the outer pieces first so you can keep using the same pattern by cutting it smaller and smaller. You can cut through several layers of fabric at a time.

•Beads or buttons . For the center of the flower, you can sew in a fancy rhinestone button, or a single pearl bead (as shown above), or a half-dozen seed beads.

•Aluminum foil. I usually work on a piece of aluminum foil. It's non-flammable and if there are drips, I have not ruined anything.

•A sewing needle

•Thread in a coordinated color, or a transparent/invisible nylon thread

•Straight pins

•Scissors

•Bottle of water (just to be safe)

Getting Started

1.Find a draft-free location to work. The smallest breeze moves the heat from your candle and changes how it affects the flower. If you can avoid any draft, you can maintain significantly better control.

2.Before you cut out your flowers, I suggest that you cut several free-form circles and practice with them until you get the hang of it.

3.If you choose to use a template, download and print the Circle Template and/or Flower Template.

4.Determine how many flowers you want to make, the size and relative fullness. You can use as few or as many layers as you like. Generally at least five or six layers are needed, but you can use many more if you want to make a big full flower. The flower shown above is five inches and has thirteen layers. Begin with a slightly larger size shape than you want for your finished flower because the heat and melting will shrink the fabric.

Making the Flower

1.Cut your shapes.

2.Hold one piece at a time over the candle flame. You don't need to be very close to the flame for the fabric to begin to melt. Slowly rotate the fabric until you have gone all the way around and have achieved the style of edge you like.


3.Start with the your largest piece and work down to the smallest.


4.Stack your layers from largest to smallest. The flowers actually look prettier if you're not too perfect in how you arrange them.


5.Shift layers from side-to-side until you achieve a natural look.


6.Pick up your flower, keeping a finger in the center and at the base so your arrangement doesn't slip. Use a straight pin from the backside through the uppermost layer and back to the back side as shown.


7.Sew your bead or beads into place.

Hints and Tips

If you want to attach your flower to a barrette or a headband, for example, you can sew your flower to a piece of felt that can in turn be sewn onto the top of a barrette or to headband.

Monday, March 8, 2010

Mary Had a Little Lamb


Just in time for Easter!  Oh how cute and sweet peasant style Lamb shirt.  You would never know it was a sweat shirt!  Comfy, warm and adorned with the cutest little lamb and roses.  Perfect to wear for the Easter Egg Hunt.  Heather blue and pink.  Oh sew Sweet!  See it in Sew Sassy Creations Etsy Shop.